Magzter GOLD ile Sınırsız Olun
Sadece 9.000'den fazla dergi, gazete ve Premium hikayeye sınırsız erişim elde edin
Denemek ALTIN - Özgür
Master the Dodge and Burn tools in Photoshop
Digital Camera UK
|March 2023
Get to grips with these essential tools for old-school image enhancements
-

James Paterson
With over a decade as a writer and photographer behind him, James knows exactly which Photoshop and Lightroom tools and techniques matter most.
The Dodge and Burn tools are ideal for selective lightening and darkening in Photoshop. There are lots of other tools that do a similar job, but there's something about these two that will keep you coming back to them. Perhaps it's the darkroom connection.
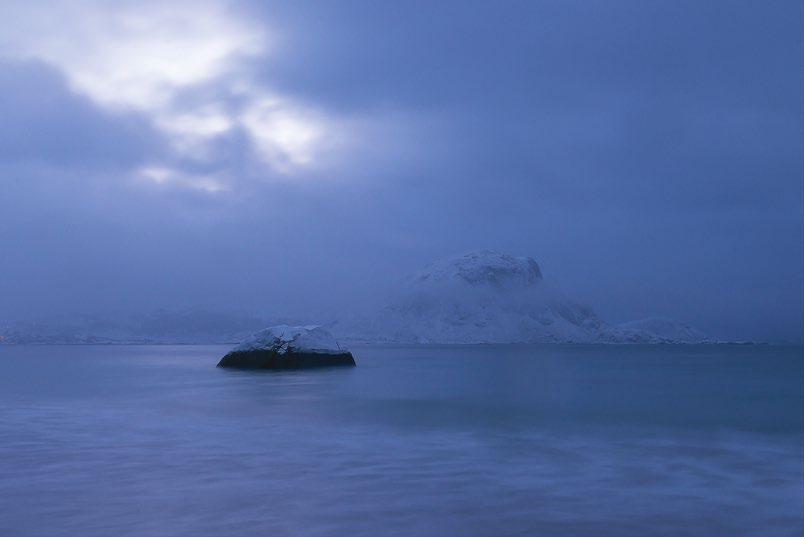
In the darkroom, areas of a print would be 'dodged' by shading some of the light from the enlarger bulb. A disc on a piece of wire would often be used, echoed in the Photoshop Dodge tool icon. By contrast, parts could be 'burned' by focusing light from the enlarger onto specific areas, resulting in darker tones. An 'OK' hand shape could be used, the hole between thumb and finger channeling light onto the print, hence the hand-shaped icon for Photoshop's Burn tool.

Of course, all this had to be done in the dark without any feedback until the print was developed. It took patience, skill and persistence to get right. Thankfully, it's much easier now. But there's still great skill in knowing where to dodge or burn, and how far to push it.
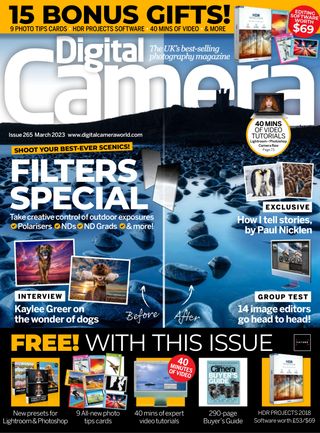
Bu hikaye Digital Camera UK dergisinin March 2023 baskısından alınmıştır.
Binlerce özenle seçilmiş premium hikayeye ve 9.000'den fazla dergi ve gazeteye erişmek için Magzter GOLD'a abone olun.
Zaten abone misiniz? Oturum aç
Digital Camera UK'den DAHA FAZLA HİKAYE

Digital Camera UK
Create your own retro light leaks in Photoshop
Discover how to magic up that vintage vibe in Photoshop
2 mins
December 2025

Digital Camera UK
Experiment with vintage film effects
James Abbott goes back in time with these quick and easy vintage Photoshop effects
2 mins
December 2025

Digital Camera UK
Shot of the month
Enter Guy Edwardes' magical macro world of fungi, as seen on the cover of the magazine
1 mins
December 2025

Digital Camera UK
Toby Binder
The documentary photographer tells Niall Hampton about his award-winning project captured on the streets of Belfast
8 mins
December 2025

Digital Camera UK
Reader gallery
Digital Camera readers show how they've been getting creative, submitting images across a range of genres
3 mins
December 2025

Digital Camera UK
HOW TO SHOOT SHARPER SHOTS
Sharpness gives your images their bite and impact.
13 mins
December 2025

Digital Camera UK
All the gear, and some deer
Shoot with a pro a keen wildlife photographer captures a stag party, with guidance from Dan Mold
7 mins
December 2025

Digital Camera UK
Scanning ahead...
In 2020, Jon Devo looked into his crystal ball and, with the Caira, his vision is now a reality
2 mins
December 2025

Digital Camera UK
Hotshots
Our showcase of category winners from the Cewe Photo Award 2025
4 mins
December 2025

Digital Camera UK
Further options for outputting raw files
Wendy Evans looks at other processing and output options using Affinity Photo 2
2 mins
December 2025
Translate
Change font size