कोशिश गोल्ड - मुक्त
BUILT-IN BENCHES
Family Handyman
|June 2022
MAINTENANCE-FREE SEATING FROM COMPOSITE DECKING

We all want to sit back and enjoy the best weather in our backyards. That's why we chose to build this custom-fit bench with composite decking. No need to spend precious summer hours keeping up with its appearance -there will be no sanding, restaining, or replacing warped or splintered wood.
We built our bench to fit against an angled wall and between two gabion walls, but you can modify the plans to fit your own space. We designed the bench to have waterfall sides to hide the cut ends, but you could change this detail to simplify it further.
The bench can be built in just a couple of days, and the composite decking has the beautiful look of hardwood-without the hassles.
WHAT IT TAKES
TIME 2 days
COST $1,000
SKILL LEVEL Beginner
TOOLS Circular saw or miter saw, drill/driver, hidden fastener installation tool (recommended)
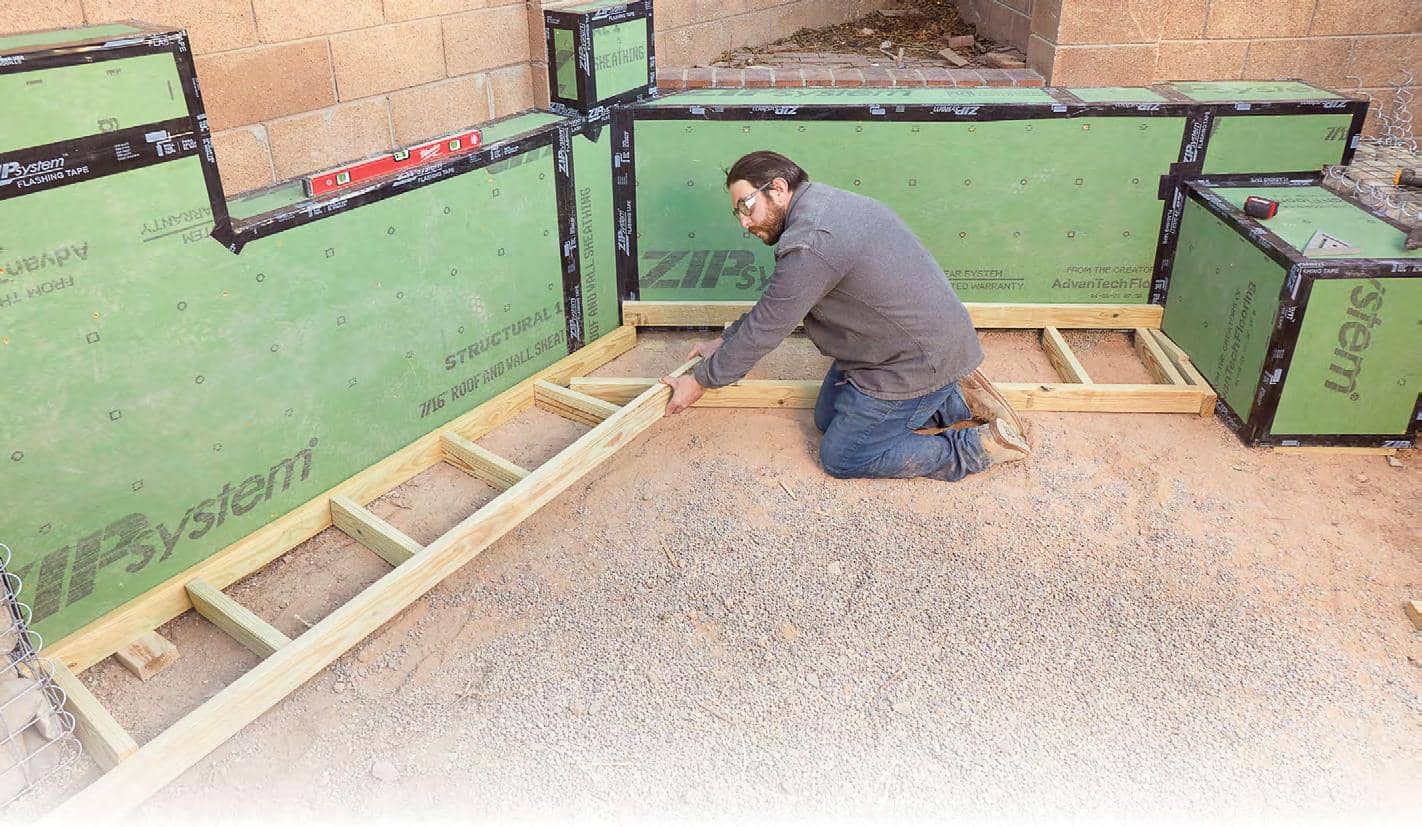
1 LAY OUT YOUR BENCH WITH 2x4s
To determine where to place your bench and its approximate size, lay out 2x4s to outline the base. This will give you a good visual for the bench's placement and length. We left a 2-in. space between the framing and the abutting walls to allow room for decking and to make installation easier.
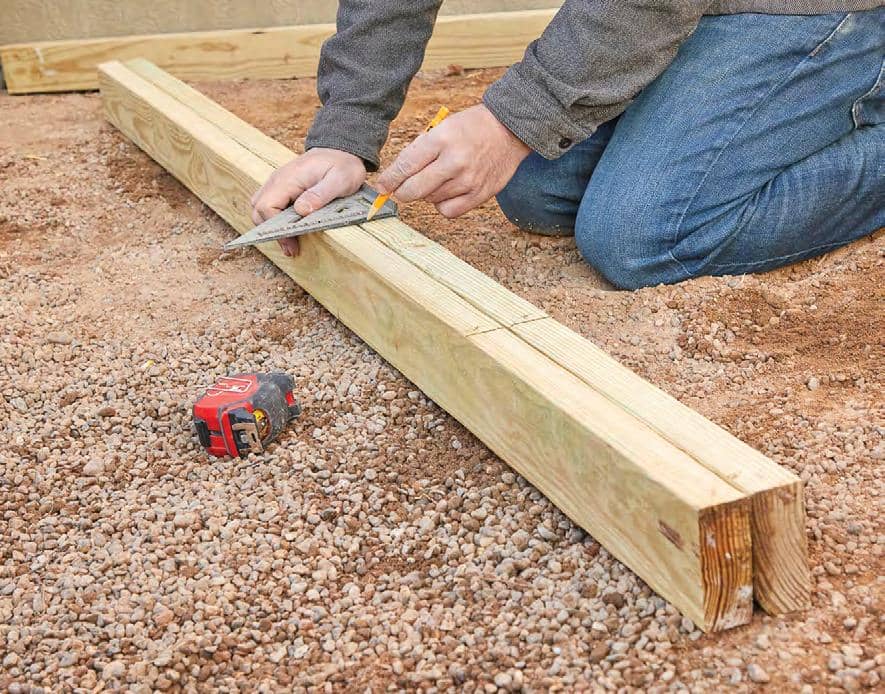
2 MARK THE PLATES
The top and bottom of the bench are identical, and each is built just like a very short wall. We started by marking the stretcher locations on the plates. With the plates cut to length (and miter angles cut), flush the end and mark stretcher locations 12 in.on-center with a Speed square. Repeat this for all four pairs.
HOW TO DETERMINE AN ODD MITER ANGLE

यह कहानी Family Handyman के June 2022 संस्करण से ली गई है।
हजारों चुनिंदा प्रीमियम कहानियों और 10,000 से अधिक पत्रिकाओं और समाचार पत्रों तक पहुंचने के लिए मैगज़्टर गोल्ड की सदस्यता लें।
क्या आप पहले से ही ग्राहक हैं? साइन इन करें
Family Handyman से और कहानियाँ

Family Handyman
Desktop Cord Organizer
Keep your devices charged and messy cords out of sight with this clever DIY box
3 mins
December 2025 / January 2026
Family Handyman
Custom Closet Storage
Turn any closet into a clutter-free zone with this easy organizer you can build in a day
3 mins
December 2025 / January 2026
Family Handyman
Entryway Storage
Keep on-the-go gear organized with a functional statement piece for your hallway, foyer or mudroom
8 mins
December 2025 / January 2026

Family Handyman
Lazy Susan
This rotating tray fit for a feast displays your craftsmanship from all angles
4 mins
December 2025 / January 2026

Family Handyman
Handy Hints
An organized workshop makes every project run smoother. Check out these smart solutions for taming clutter.
1 mins
December 2025 / January 2026

Family Handyman
New Year, New Gym
Kick off 2026 with a home workout space that energizes and inspires you. Start here for an easy DIY to keep your gear organized, then explore ideas for quick upgrades that refresh the room.
3 mins
December 2025 / January 2026

Family Handyman
DIY Kegerator
Keep the cheer flowing with frosty pours on demand
5 mins
December 2025 / January 2026

Family Handyman
Keep Your Kitchen Flowing
The sink, garbage disposal and dishwasher are interconnected. Use these tips and simple fixes to stop slowdowns.
6 mins
December 2025 / January 2026

Family Handyman
The Art of What's Left Behind
In a country that trashes more than 12 million tons of furniture every year, one resourceful woodworker is proving there's beauty—and a business—in the scraps
3 mins
December 2025 / January 2026
Family Handyman
Great Goofs
DIY projects don't always go as planned. These readers learned the hard way!
1 min
December 2025 / January 2026
Translate
Change font size