This exercise will be a continuation from our previous tutorial in the last issue on isolating backgrounds using the Depth Map. In this part we'll use the Relight effect, introduced in DaVinci Resolve Studio 18.5, to analyse a scene so that three-dimensionally accurate virtual lights can be added. If you're not sure what we mean yet, then keep on reading.
Thanks to the Relight effect we're able to correct lighting mistakes that were made during the production process, or in this instance enhance an existing look with additional virtual lights. Even though Relight is computationally intensive, render caching means you're still able to enjoy smooth playback in your timeline.
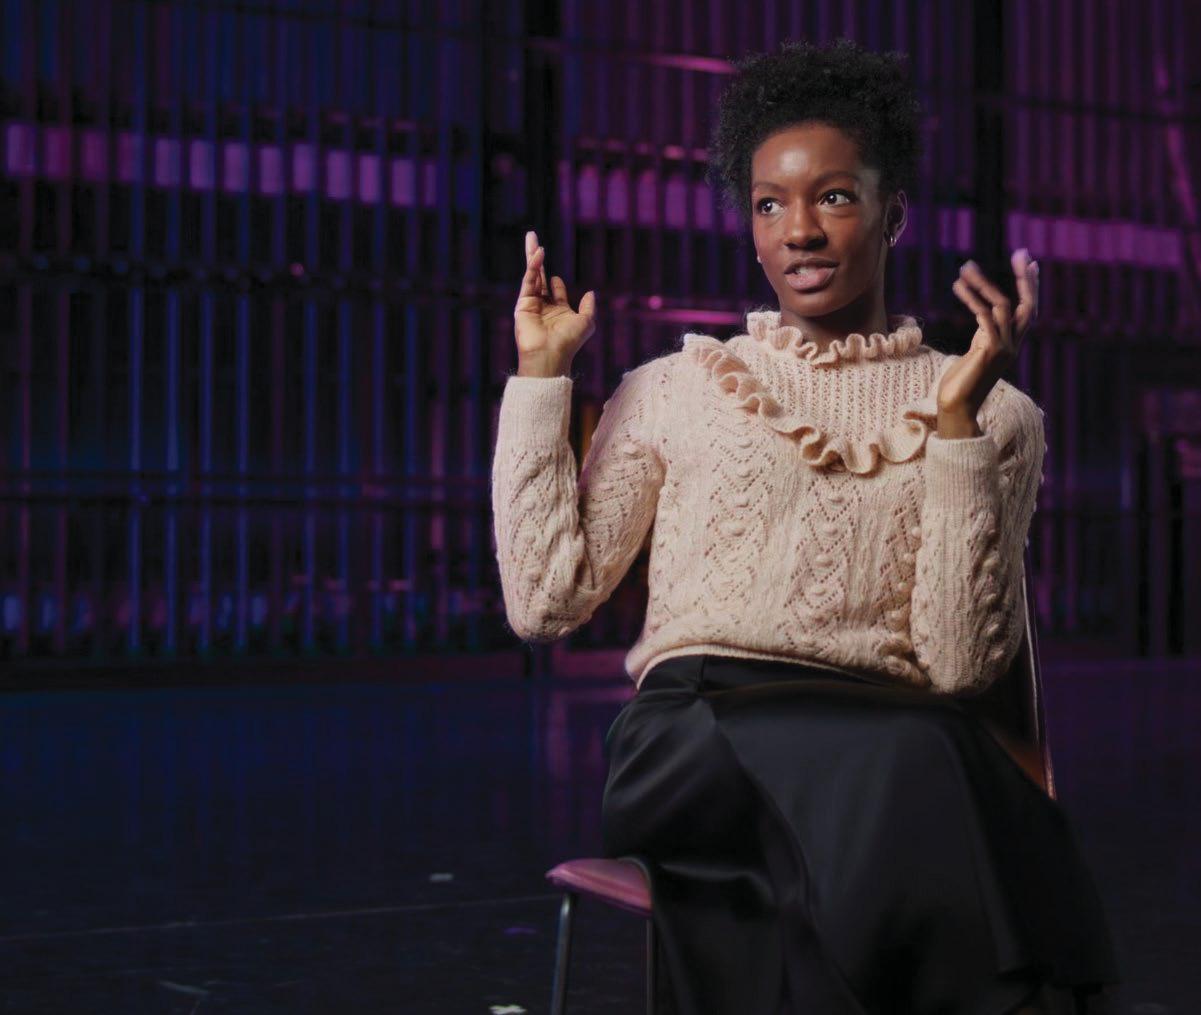
In the shoot our interviewee has been lit with a high contrast ratio, so the key is bright and the fill dark. The goal is to reduce the lighting ratio by adding a virtual fill light. Additionally, we'll use the background colour as motivation to add a hue to the fill light.
01 ADD RELIGHT EFFECT From the Effects tab, you can add the Relight Open FX effect to your node tree. You can apply it to an existing node by dragging it onto the node, or alternatively if you drop the effect onto an existing connection in your node tree, Resolve will automatically create a new node that already has the appropriate connections readymade for you to work on.
02 RELIGHTING MAP PREVIEW By default the Relighting Map Preview is shown. The Open FX Overlay in the viewer shows the location of your virtual light. Areas of the image that will be affected by the virtual light are shown in white, and areas of the image where your virtual light casts a shadow, the parts of the image that it will not affect, are shown in black.
03 EXPERIMENT WITH LIGHT POSITION
This story is from the November 2023 edition of 3D World UK.
Start your 7-day Magzter GOLD free trial to access thousands of curated premium stories, and 8,500+ magazines and newspapers.
Already a subscriber ? Sign In
This story is from the November 2023 edition of 3D World UK.
Start your 7-day Magzter GOLD free trial to access thousands of curated premium stories, and 8,500+ magazines and newspapers.
Already a subscriber? Sign In

HOW DO I QUICKLY ITERATE LIGHTING FOR LOOKDEV USING REDSHIFT AND CINEMA 4D?
3D rendering can be a massively time-consuming process for artists, which can tie their primary machine into render cycles.

Scanning the stars
Matthew McMillion discovers why artist Kazu Hiro turns to 3D scanners when creating special effects makeup for Hollywood's A-listers

HOW DO I CREATE CINEMATIC CAMERAS IN KEYSHOT?
KeyShot provides powerful yet simple-to-use rendering tools through both a standalone package and a plugin for all the best-known DCC applications.

ADD RAIN TO RENDERS IN POST-PRODUCTION
3D World Editor Rob Redman shows you how to build the storytelling in your scenes with dramatic rainstorm effects

FOR 10 MODO 17.0
How to get the most from Foundry's updated 3D package

MAKE AN ANIMATION FOR A MOVING VEHICLE
Get revved up with Oscar Juárez as he details how you can create a realistic animation with help from a 3ds Max plugin

CREATE STYLISH HAND-PAINTED CHARACTER ART
Video game artist Weston Reid reveals the process for building his stylised Wild West-inspired character

THE ART OF Surajit Sen
The digital sculptor speaks to Cesci Angell about his thought processes, work on major Indian films, and having a 3D obsession

REBELS WITH A CAUSE
Trevor Hogg embarks on a galactic journey to uncover the secrets behind Rebel Moon: Part One - A Child of Fire NEXT

DRAMA & SPECTACLE
Trevor Hogg gets dangerously close to kaiju to uncover the secrets behind Monarch: Legacy of Monsters